

Participants:
Tom Wolfe (ACMG Mountain Guide)
Stefanie Falz (Tail Guide)
Amber McMinn
Michael McMinn
Jennifer Coffman
Deon Molloy
Al Tinholt
 |
| The Team |
On Saturday, April 6 Mike and I left
Vancouver to head to Field, BC to commence our journey across the Wapta
Icefields. We’d been planning, training
and looking forward to this trip for months and we’re stoked to finally be on
our way! It all started back in the fall when our plans to ski in Roger’s Pass
fell through. I suggested to Mike that maybe this would be a good year to try
something different and longer, maybe a Traverse instead of day trips. How
about the Wapta? It’s a classic, right? Some emails back and forth with Tom,
figuring out some logistics and pulling together a team and it was all coming
together.
 |
| Packing |
We left Vancouver at 7am and after some
traffic on Hwy 1 leaving the City and a 20 min road closure for snow removal on
the Coquihalla, we were cruising to the Rockies. As we travelled along the Coquihalla, we
suddenly remembered that there was a time change between Vancouver and Field,
and we had a Team meeting at 6pm.... Oops! Good thing we left early! The drive
was fairly uneventful; we stopped along the way to try and find a Wapta
icefields map, which are apparently impossible to come by, and made it into
Field by 5pm.
 |
| Sorting Gear |
We checked into our room at the KickingHorse Lodge and went down to the Truffle Pigs Bistro to meet the group we’d
spend the next week skiing with. After the initial introductions we enjoyed a
fabulous dinner at Truffle Pigs as we talked about the trip and got to know each
other. Then we sorted our gear and food and got a good rest for the upcoming
adventure.
Sunday, April 7 – “The Slog”
Day 1:
Peyto Lake Trail Head to Peyto Hut
9km, 2200 ft Elev. Gain
We got up at 6:30am and after a quick
breakfast at Truffle Pigs, we loaded the car and hit the road for Peyto
Lake. We got geared up with our fully
loaded (i.e. heavy) packs and headed for the trail through the trees and down
onto Peyto Lake. We quickly found that
the conditions on the trail to the lake were horrifying with a breakable crust
and steep icy sections. We managed to
ski parts of the trail and boot pack the rest to get everyone down to the lake
without injury, which we later learned is more than can be said for other
unfortunate groups .
 |
| Crossing Peyto Lake |
 |
| Boot Packing |
Once on the lake we continued along with
relative ease, enjoying the views and the sun. The snow was settling around
quite readily with constant “Woomphing” on the flats; it’s an unsettling sound
and feeling. Once we reached the end of the Peyto Lake we had to take off our
skis and boot pack along the creek to gain the moraine leading to Peyto Glacier. The moraine started
out reasonably mellow, but quickly steepened and involved some more boot
packing in several places to reach the top.
 |
| Climbing the Morraine |
 |
| Almost there.... |
After a small break at the top we headed
downhill for about 100m, past the Glaciology huts and to the toe of the Peyto
Glacier. Since we were gaining the glacier and the snow seemed thin in places,
we roped up and ascended to the Peyto Hut. The Peyto Hut was quite spacious and
bright with all of its large windows and was probably my favorite hut of the
trip. We spent the night relaxing and
getting to know each other over a 4-course dinner of soup, veggies and dip,
curry noodles, dessert bars and tea. Yes, we ate like rock-stars on this trip;
no boil-in-a-bag food for us!
 |
| Peyto Hut |
Monday, April 8
Day 2:
Peyto Hut to Bow Hut
6km,
900 ft Elevation gain + Climbing Mount Habel (10,083 ft Elev)
 |
| Skiing towards Mt Habel |
On our second day, we awoke to fairly clear conditions and after our coffee and breakfast burritos, we packed our gear and continued on our way. We started the morning with a beacon practice and avalanche safety refresher session and then headed out to bag a peak. The day’s objective was Mt. Habel (aka Mt Rhondda North), a 10 083 ft high peak.
 |
| Climbing Mt Habel |
 |
| Boot packing up Mt Habel's ridge |
It
was the first time up this peak for everyone, including Tom, so we weren’t 100%
if it would go. We skied to the base of the peak, cached our extra gear in the
snow and began to climb. It turned out
that we could follow a ramp with minimal difficulties almost directly to the
summit. We ditched our skis on the false
summit, and avoiding the cornices, boot packed to the summit where we had a
summit celebration and enjoyed the views over our lunch.
 |
| Summit Party |
After Lunch we enjoyed a glorious 1000 ft
of powder skiing down from the false summit, collected our cached gear and
carried on towards Bow Hut. The ski from Mt Habel to the high point on the
icefield was fairly casual and we ended our day with a fun ski down into Bow
Hut, located below St Nicholas Peak.
 |
| Skiing Down Mt Habel |
Bow hut is huge! Two rooms with separate
sleeping quarters and living space, room for 30 people and even indoor “out”houses.
Pure backcountry luxury!
 |
| Bow Hut |
That night we enjoyed a Mexican taco dinner
and entertained ourselves by getting to know our fellow hut mates and watching
Deon and Stef ski an extra lap and jump cornices outside of the hut.
 |
| Bow Hut -inside |
Tuesday, April 9 – “Arctic Exploration Day”
Day 3:
Bow Hut to Balfour Hut
8km,
1800 ft El. gain + Climbing Mount Gordon(10,510 ft El.) and St. Nicholas Peak
(9,639 ft El.)
 |
| Bundled Up |
Today was the cold day of the trip. We woke
up to a beautiful, clear sky, but -16c and high winds. We were all bundled up
in a laughable amount of layers and looked like we were heading out for an
arctic expedition. We started the day by climbing back up to the icefield from
Bow hut and wrapping around to avoid any looming crevasses while gaining the
flanks of Mt Gordon. At the base of Mt Gordon we cached our extra gear again
and started the climb.
 |
| Heading to Mt Gordon |
I was dragging my butt today, a combination of it being
day 3 mixed with the cold and the increasing altitude, but luckily my awesome teammates waited for me before
gaining the summit ridge and with a short break to catch my breath I was able
to step it up and carry on. The views
from the top of Mt Gordon were amazing, we lingered for a bit to take some
photos and have a snack on the summit before continuing our adventure to ski down Gordon’s NE
face.
 |
| View from Mt Gordon's Summit |
 |
| Mt Gordon Summit Shot |
 |
| Skiing Mt Gordon's NE Face |
 |
| Skiing Mt Gordon's NE Face |
 |
| Avalanche |
From there we collected our gear and started the journey up onto the St Nicholas-Olive Col (9500 ft El.). The wind was really blasting on the col and we weren’t keen to linger, but both Mt Olive and St Nicholas Peaks looked impressive and were just begging to be climbed; we made a group decision to go for the summit of St Nicholas. We ditched our skis and with minimal difficulties boot packed up to the summit.
 |
| St Nicholas-Olive Col |
 |
| Climbing St Nicholas |
 |
| Climbing St Nicholas |
The last 100ft
or so felt a bit spicy, I’m not used to climbing steep, exposed snow without
crampons, especially down climbing, but it was secure enough to be do-able and with
Tom’s guidance it felt reasonable to carry on. And it turned out to be worth
every bit of energy with the crazy awesome views from the top and the
accomplishment of having climbed such a cool looking route.
 | |||
| St Nicholas Peak Summit Party |

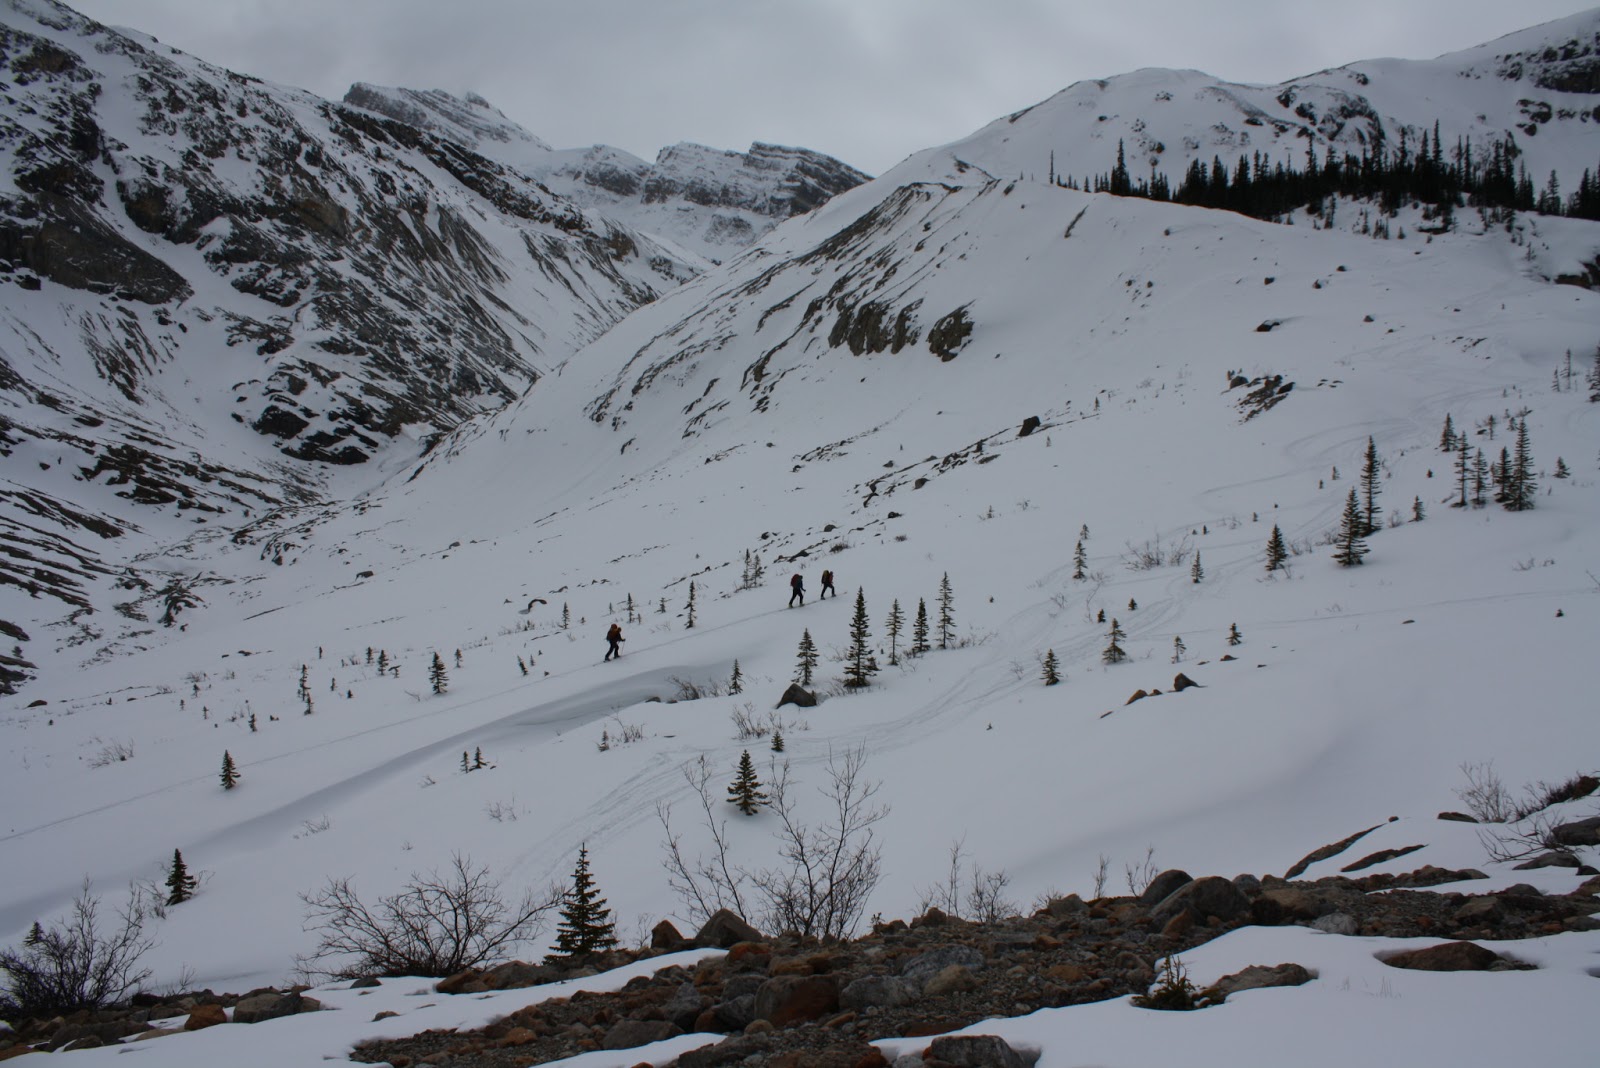
Once we came back to the col we collected
our gear and enjoyed some more turns down the glacier towards Balfour hut.
There were great views of Mt Balfour along the way and an overview of the next
days route up to the Balfour High Col. Accessing the hut required some
mandatory air and the snow on the slopes near the hut was a bit crusty and
difficult to ski, but it was all manageable, even with burning, tired legs.
 |
| Almost there..... |
 |
| Balfour Hut |
Here is the MCR report from our trip:
 |
No comments:
Post a Comment