

Rock Climbing Road Trip
May 17 – 27, 2013
Smith Rock, OR and City of Rocks,
ID

 Last week Mike and I left town for
10 days of climbing in the US. It’d been a few years since we’d been on a
full-on road trip, so I was excited to camp, climb, drive and explore for the
week. We left Vancouver early on Friday, May 17 to start our journey to
Smith Rock in Terrebonne, Oregon. We were pleasantly surprised by beating
morning rush-hour and then sailing through the border. The drive was
pretty much uneventful. The weather was unsettled most of the way, so
unfortunately there were no views of Mt. Rainier or Mt Hood to be had enroute.
Last week Mike and I left town for
10 days of climbing in the US. It’d been a few years since we’d been on a
full-on road trip, so I was excited to camp, climb, drive and explore for the
week. We left Vancouver early on Friday, May 17 to start our journey to
Smith Rock in Terrebonne, Oregon. We were pleasantly surprised by beating
morning rush-hour and then sailing through the border. The drive was
pretty much uneventful. The weather was unsettled most of the way, so
unfortunately there were no views of Mt. Rainier or Mt Hood to be had enroute. 
Luckily the weather was a bit better in Terrebonne. Once we reached
Terrebonne,(8 hours after leaving home) we loaded up the truck with groceries
for the next few days, checked out the local climbing shop, Redpoint Climbers Supply, for some gear and route beta and went and scored a campsite at the
Smith Rock Bivouac site. Smith Rock was packed for the weekend; I have
never seen so many tents in the bivi site! We spent the night relaxing in camp
and planning our climbs for the next few days. Unfortunately several of
the routes we wanted to climb were closed due to nesting Raptors, but we found
some alternate objectives and now we have an excuse to head back this fall.
 Our first day of climbing didn’t
start out as planned. We woke up at 7am to rain on the tent, so we went
back to sleep and when we got up a couple
hours later the rain had stopped, sun was shining and the rock was quickly
drying out. We had a quick breakfast and
joined the hoards in the Smith Rock State Park Canyon. We opted to by-pass the more popular climbing
areas and head along the river to the “Phoenix Buttress”. There was only one other party climbing in
this area, preventing us from having to wait in line to climb something. Lesson
learned: go to Smith Rock mid-week & definitely not on long weekends! The
easier routes at the Phoenix were being used, so we settled on stick clipping
our way up a 10a, “Phoenix” and throwing down a Top-rope to start out our day.
Not really a warm-up, but it was a fun
challenge to start our day.
Our first day of climbing didn’t
start out as planned. We woke up at 7am to rain on the tent, so we went
back to sleep and when we got up a couple
hours later the rain had stopped, sun was shining and the rock was quickly
drying out. We had a quick breakfast and
joined the hoards in the Smith Rock State Park Canyon. We opted to by-pass the more popular climbing
areas and head along the river to the “Phoenix Buttress”. There was only one other party climbing in
this area, preventing us from having to wait in line to climb something. Lesson
learned: go to Smith Rock mid-week & definitely not on long weekends! The
easier routes at the Phoenix were being used, so we settled on stick clipping
our way up a 10a, “Phoenix” and throwing down a Top-rope to start out our day.
Not really a warm-up, but it was a fun
challenge to start our day.  Next, Mike led up “Hissing Llamas”, 5.8 on the same
wall and then it was my turn for my first ever Smith rock lead, so we headed
over to “Bunny Face” 5.7. We had to wait
in line for a couple of parties who were teaching their girlfriends how to
climb & rappel, which was slightly terrifying, especially when they talked
of climbing the Monkey Face the following day, but I finally had my turn at the
route and we were entertained by climbers working "Chain Reaction", 5.12c, while we waited. The rain showers and run-outs
near the top were not my favorite, but luckily the climbing was easy and the
route went well. To end our day we headed over to the Peanut Area and top roped
two 5.8’s “ Hop on Pop” & "Peanut Brittle” before walking back to camp for some
steaks and beers.
Next, Mike led up “Hissing Llamas”, 5.8 on the same
wall and then it was my turn for my first ever Smith rock lead, so we headed
over to “Bunny Face” 5.7. We had to wait
in line for a couple of parties who were teaching their girlfriends how to
climb & rappel, which was slightly terrifying, especially when they talked
of climbing the Monkey Face the following day, but I finally had my turn at the
route and we were entertained by climbers working "Chain Reaction", 5.12c, while we waited. The rain showers and run-outs
near the top were not my favorite, but luckily the climbing was easy and the
route went well. To end our day we headed over to the Peanut Area and top roped
two 5.8’s “ Hop on Pop” & "Peanut Brittle” before walking back to camp for some
steaks and beers. On Sunday we decided to go for one
of our main objectives of the trip, the iconic Monkey Face! We got up at 6am to beat the crowds, had a quick breakfast and started our hike up over Misery Ridge. We arrived at the base of the "Pioneer Route" just in time to be ahead of a party of 6 with the same plans. Mike started out by linking the first two pitches, which consisted of a 4th class scramble and the worlds hardest/most awkward 5.5. unfortunately linking the pitches led to horrid rope drag. Not recommended! keep them as two separate pitches.
On Sunday we decided to go for one
of our main objectives of the trip, the iconic Monkey Face! We got up at 6am to beat the crowds, had a quick breakfast and started our hike up over Misery Ridge. We arrived at the base of the "Pioneer Route" just in time to be ahead of a party of 6 with the same plans. Mike started out by linking the first two pitches, which consisted of a 4th class scramble and the worlds hardest/most awkward 5.5. unfortunately linking the pitches led to horrid rope drag. Not recommended! keep them as two separate pitches.  Next we tackled the 3rd pitch bolt ladder. Mike led up and since we had the half-ropes he managed to always have a rope on tension as he made his way up the wall. Following the aid pitch with just one set of etriers and no ascenders it was a bit of a chore, but with some creativity and yarding on a lot of draws I clawed my way up the wall and into the cave (aka, the Monkey's Mouth) with burning arms.
 The next and final pitch (for us) is know as "Panic point". It involves stepping out of the cave and onto the wall with an instant 200' of exposure. Luckily a bolt be can be clipped while still in the cave, so you're protected making the first few moves. Mike led up this pitch with is nicely spaced bolts and good size holds. I followed and thought it felt hard for a 5.7 with a slight overhang and my tired arms.
 From this point we were perfectly set up for the descent, so we decided to forgo the unprotected summit scramble and rig up our rappel. We learned later that it is recommended to link the "Panic Point" pitch and the summit scramble into one pitch if you want to summit the Monkey. After enjoying the view for a few minutes Mike took the first lead for the epic 150' free hanging rappel. It made his way down quickly without incident and I rigged up my device. The rappel was insane! It was one of the craziest things I've ever done climbing.
 I decided that I don't really like free hanging rappels and spent the descent deciding between taking a break to regain my composure and wanting to go faster to get it over with immediately. I was ecstatic to reach solid ground. Once off the route I decided I'd had enough excitement for one day, so we spent the afternoon hiking and enjoying a coffee in town.

Monday May 20 was our last day in Smith Rock. We got up early to a nice, warm day and headed into the park to get in a few climbs that morning. It was nice being there on a weekday; significantly quieter. We spent the morning at the combination blocks area where Mike led up "Dancer" 5.7 and them we top-roped "Jete", 5.8 and "Earth Boys", 5.10b. I was thrilled to make it up "Earth Boys" with no falls!

It was getting hot at that point and we wanted to get in a bit of driving that day, so we headed back to camp to break down our tent, have some lunch and pack up the truck. We hit the road at 2pm to start making our way to Idaho. We were hoping to drive a couple hours and find an RV park or campground for the night, but everything we found was full. We succumbed to dinner at McDonald's to use their WiFi and we found that we could get a hotel in Boise, Idaho off of Hotwire for $40 a night, including breakfast. Sold!

We spent our afternoon driving for 6 hours through Oregon's High desserts and Idaho's Farm lands, all the while dodging numerous tumbleweeds, ending with a night in the Super 8 Hotel relaxing over Dixie cups of boxed wine.

Part 2: City of Rocks, to come......... (Click Here)
Click here for more pics


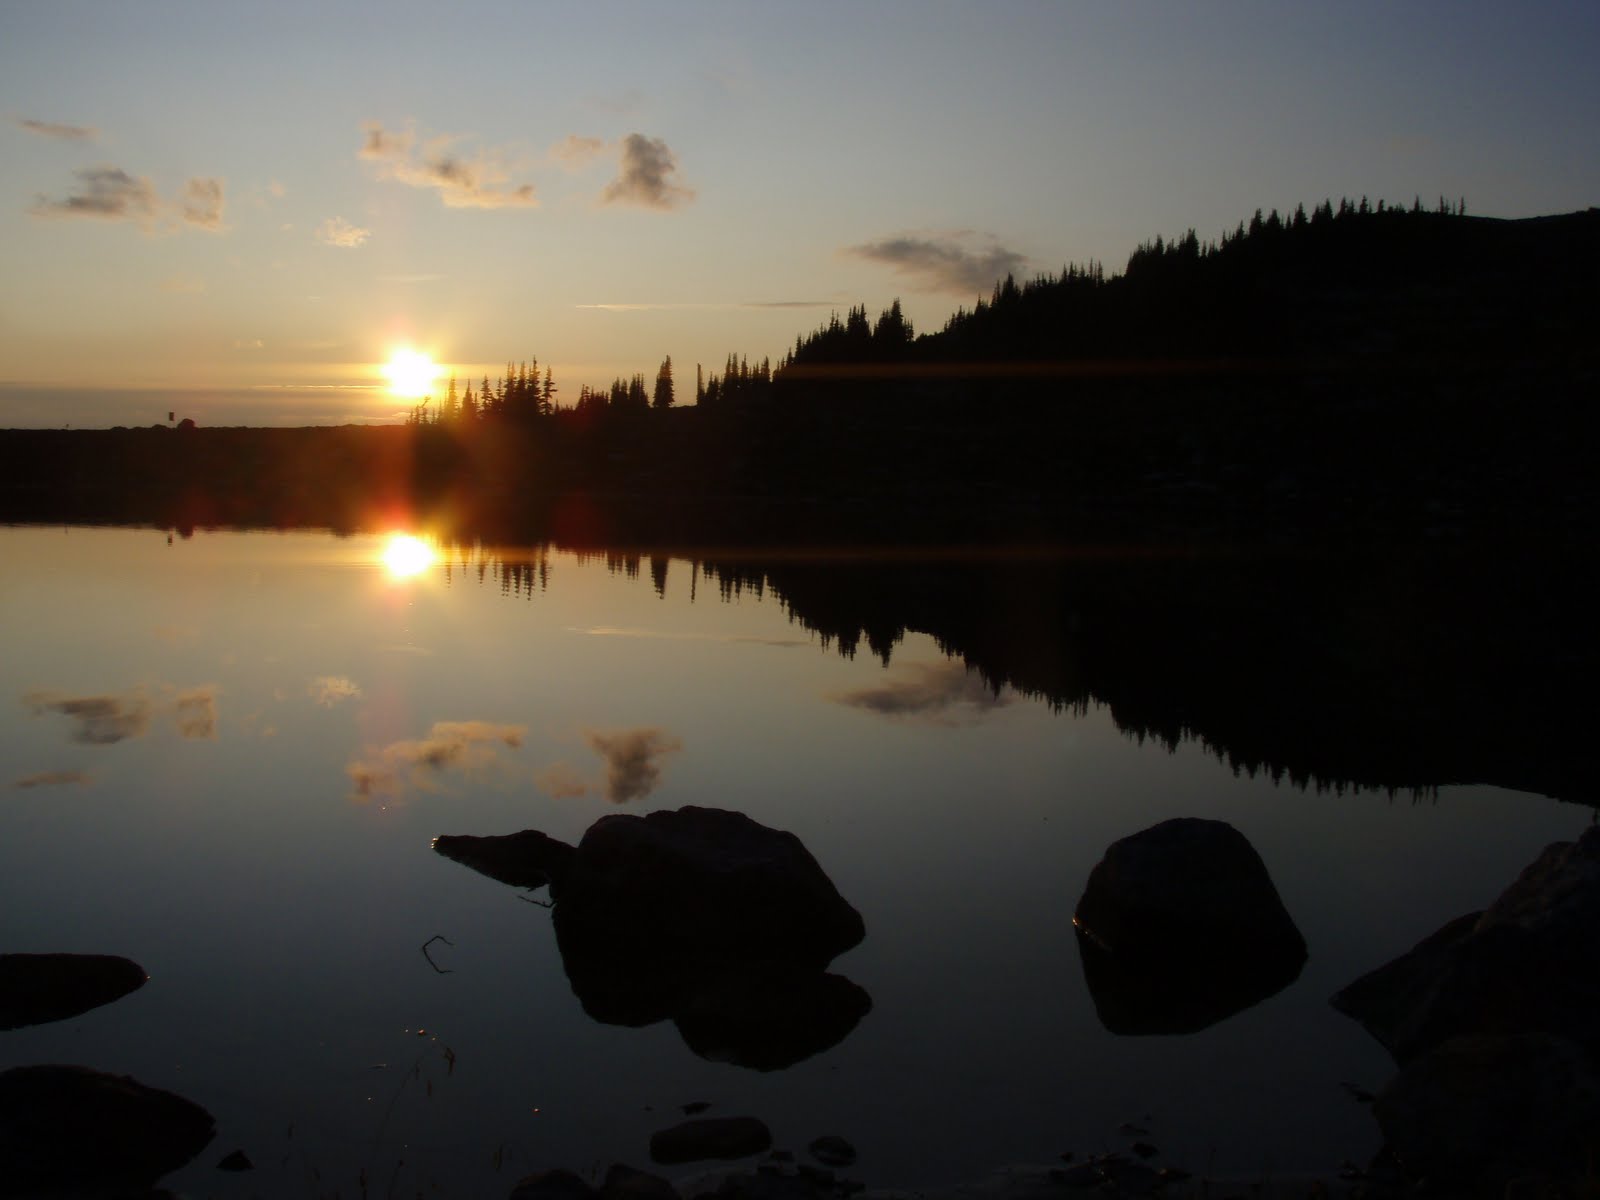


 Hermit Meadows